the Rasam Queen 🙂
I’ve said this before, and I will say it again! My amma is the undisputed queen of rasams, in my unbiased opinion of course 🙂 It took me sometime to discover the magic of rasam. A garlic lover, Poondu (Garlic) Rasam may have opened the doors to the flavor filled world of rasams for me. It is my favorite kind!
Here’s my mother’s recipe for Poondu Rasam or Garlic Rasam 🙂
for the rasam masala:
tuar dal/yellow pigeon peas – 1 tablespoon
ney/ghee/clarified butter – 1 teaspoon (can substitute with oil)
poondu/garlic – 5-6 cloves peeled
peppercorns – 20-30 per your spice preference
karuveppilai/curry leaves – 8-10 washed
jeera/cumin seeds – 1 teaspoon
water – 1 cup
for the rasam:
puli/dry tamarind – 1 inch ball
water – about 2 cups
salt to taste
for the tempering:
ney/ghee/clarified butter – 1 teaspoon (can substitute with oil)
kadugu/mustard seeds – 1 teaspoon
poondu/garlic – 6-12 cloves per your preference. I like more!
Procedure:
1. Making the rasam masala:
a. Dry roast the tuar dal till it starts to change color. It takes about 3-5 minutes. You will get the aroma of the roasted lentils. Once done, add to the blender.
b. In 1 teaspoon of ghee, pan fry the garlic cloves, peppercorns and curry leaves. Once the garlic cloves start to brown, transfer to blender.
c. Add raw cumin seeds to the blender.
d. Add 1 cup of water and blend the mixture into a smooth paste. Set aside.
2. Making the rasam:
a. Boil the dry tamarind in 2 cups of water till it comes to a boil. Set aside to cool a bit. Start this process even before you start making the rasam masala. That way you can save a good amount of time.
b. Make sure the tamarind dissolves in the water and strain out the seeds and fibers.
c. Add the rasam masala prepared in step 1 to the tamarind water.
d. Add salt to taste. If not spice enough, add some freshly ground black pepper.
e. If the rasam is too thick, add water to adjust the consistency per your preference.
f. Heat on medium flame until the rasam starts to froth and turn off the flame just before it comes to a boil.
g. Transfer to a serving bowl if different from the cooking pot.
3. Tempering:
a. Heat 1 teaspoon of ghee.
b. Add mustard seeds.
c. Once mustard seeds start spluttering, add the garlic cloves.
d. Once the garlic cloves begin to brown, add tempering to the rasam in the serving bowl.
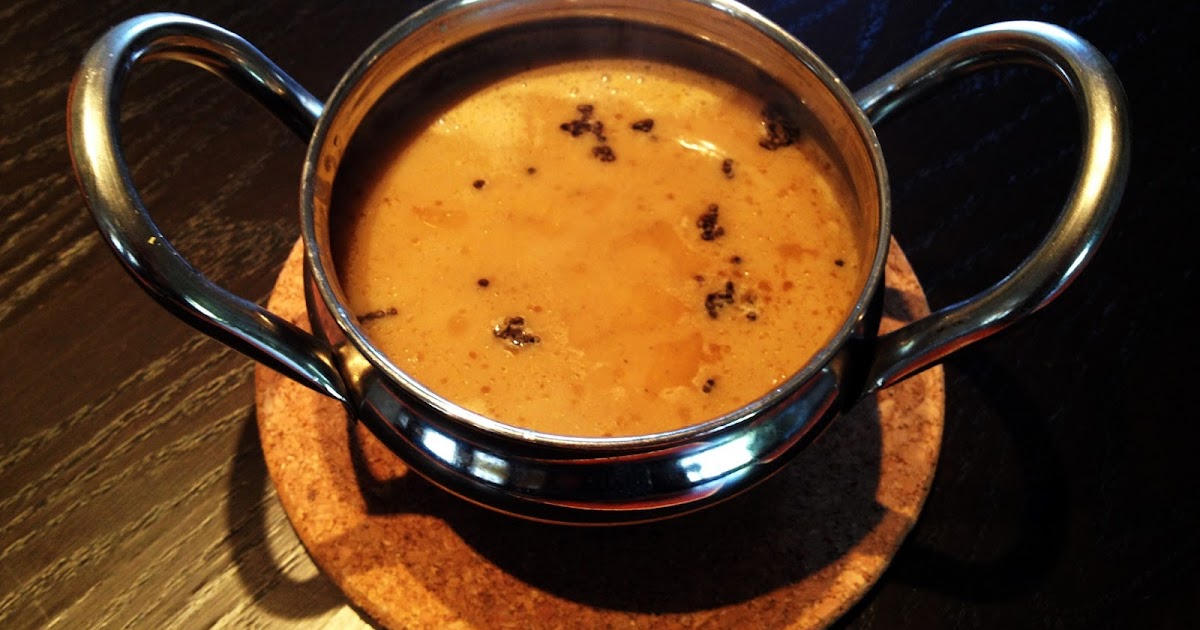
Aromatic flavor-filled Poondu (or Garlic) Rasam is ready to serve 🙂
Like in the picture above, rasam is traditionally served over hot rice with assorted vegetable side-dishes and appalam or vadaam (South-Indian chips) on the side. A number of people enjoy rasam by itself as a soup/appetizer. I tend not to make the consistency of this rasam as thin as a classic paruppu rasam. As a consequence, I like poondu rasam as a dip for rotis and dosai as well.
There is something really soothing and comforting about this recipe. All in all, I’m a fan!
To comfort 🙂


